


STEP O1 : Slip on the carrier as you would a T-shirt, ensuring that the logo is positioned on the bottom left side of your body. Spread out the sashes over your shoulders so they resemble a shawl for added comfort and even weight distribution.
STEP 02 : Gently guide your baby’s legs through the lower left and right loops of the carrier. PRO TIP: start with the inner sash — place your baby’s first leg through it, then guide the other leg into the outer sash for a secure fit.
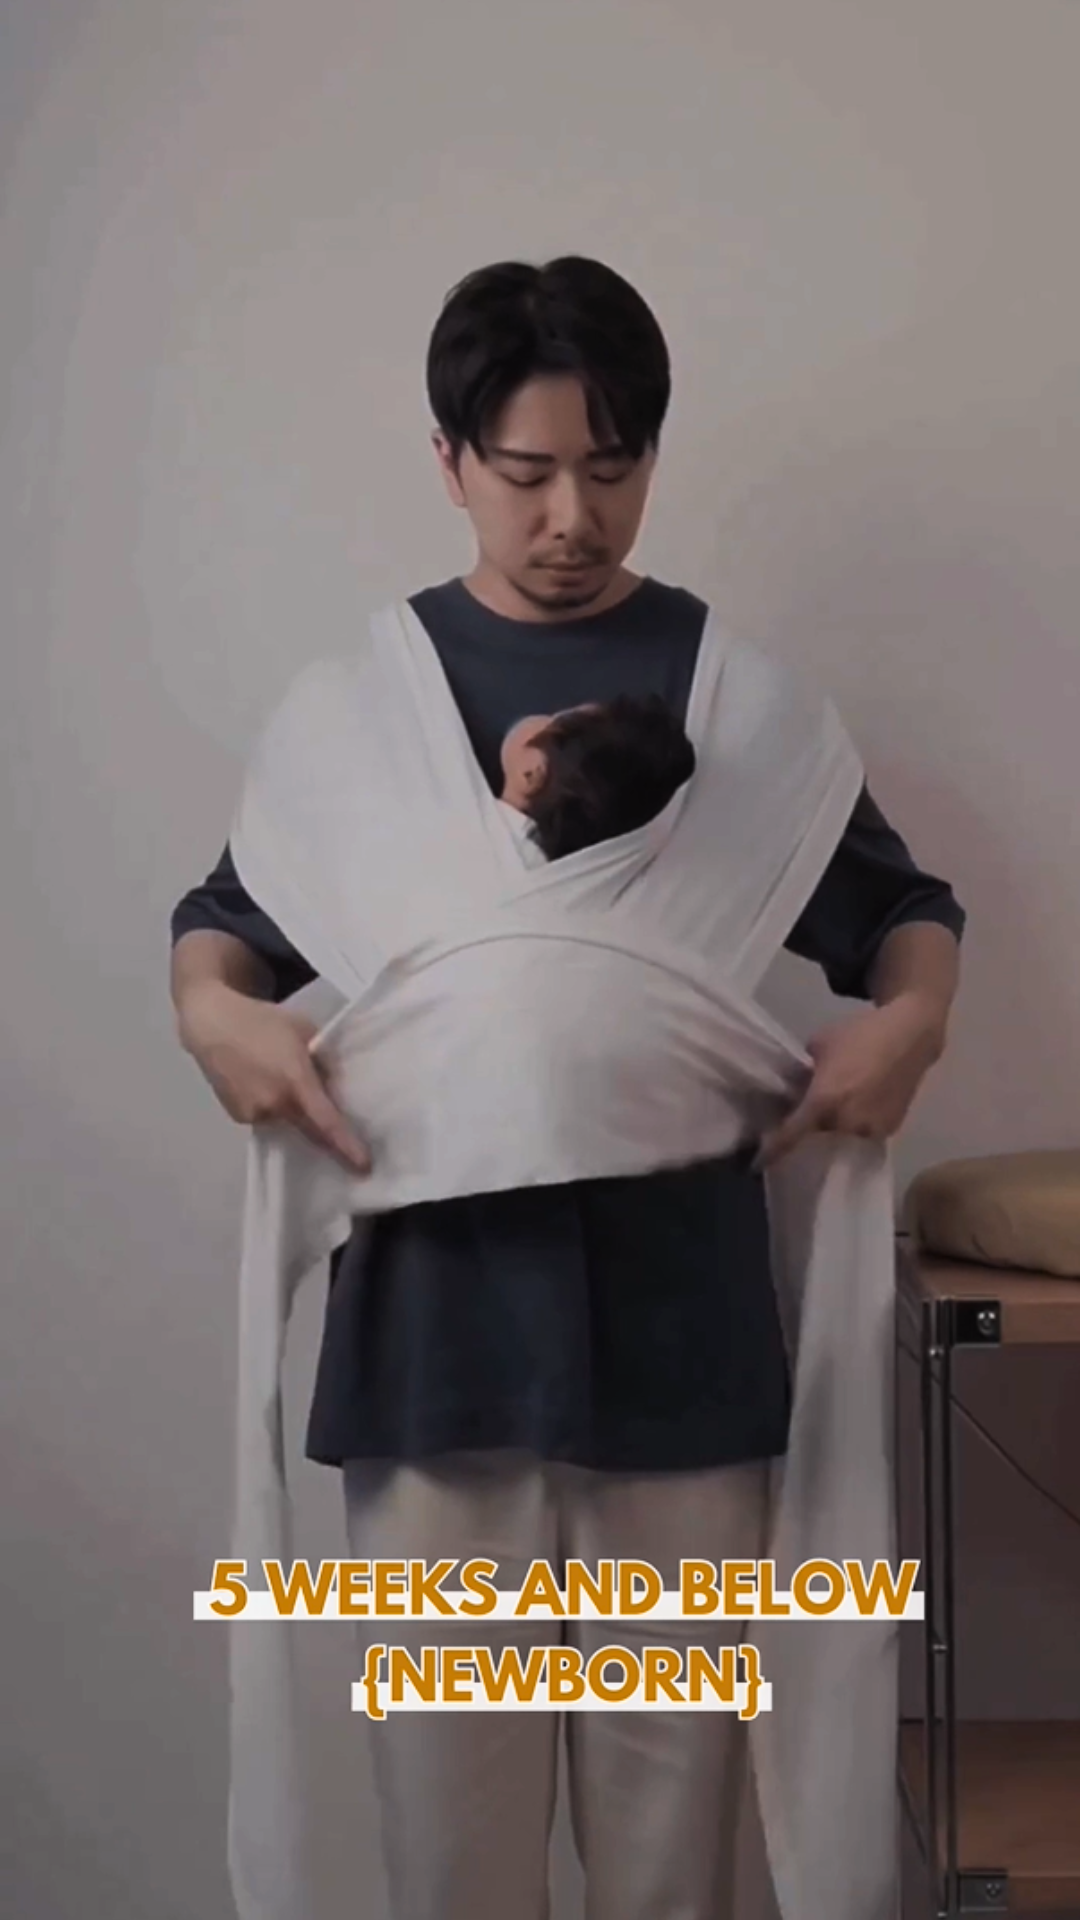
STEP 03 : Once your baby’s legs are securely placed inside the carrier, double-check that the back sashes (highlighted in red) fully cover your baby’s back. This step is essential to ensure your baby’s safety and comfort.
STEP 04 : OPTIONAL – for extra support, use the additional sash to secure your baby across their back and yours.

